With the dawn of 2017 upon us (3XX shopping days left!), it is time to take a look back at this past year and see how I did against my goals. I firmly believe that building a layout is a project management exercise (yeah, I am no fun), and to get to some level of completion you have to set goals. Last year, I updated this blog page with my goals for 2016.
That page is here.
So, what was finished in 2016? Let's start with the 2016 goals:
2016 Goal #1: The lights need to be wired. Check. In 2015 I installed 9 or so T8 light fixtures but I did not wire them. They are now wired up in several circuits and boy, do working lights make a difference for the feeling of going somewhere! I also had an electrician install some outlets for some portable lights to be installed that will hang from my soffits but allow easy access to them in case the utility lines need maintenance attention.
2016 Goal #2: Finish Dishman subroadbed and begin laying track. Check. The
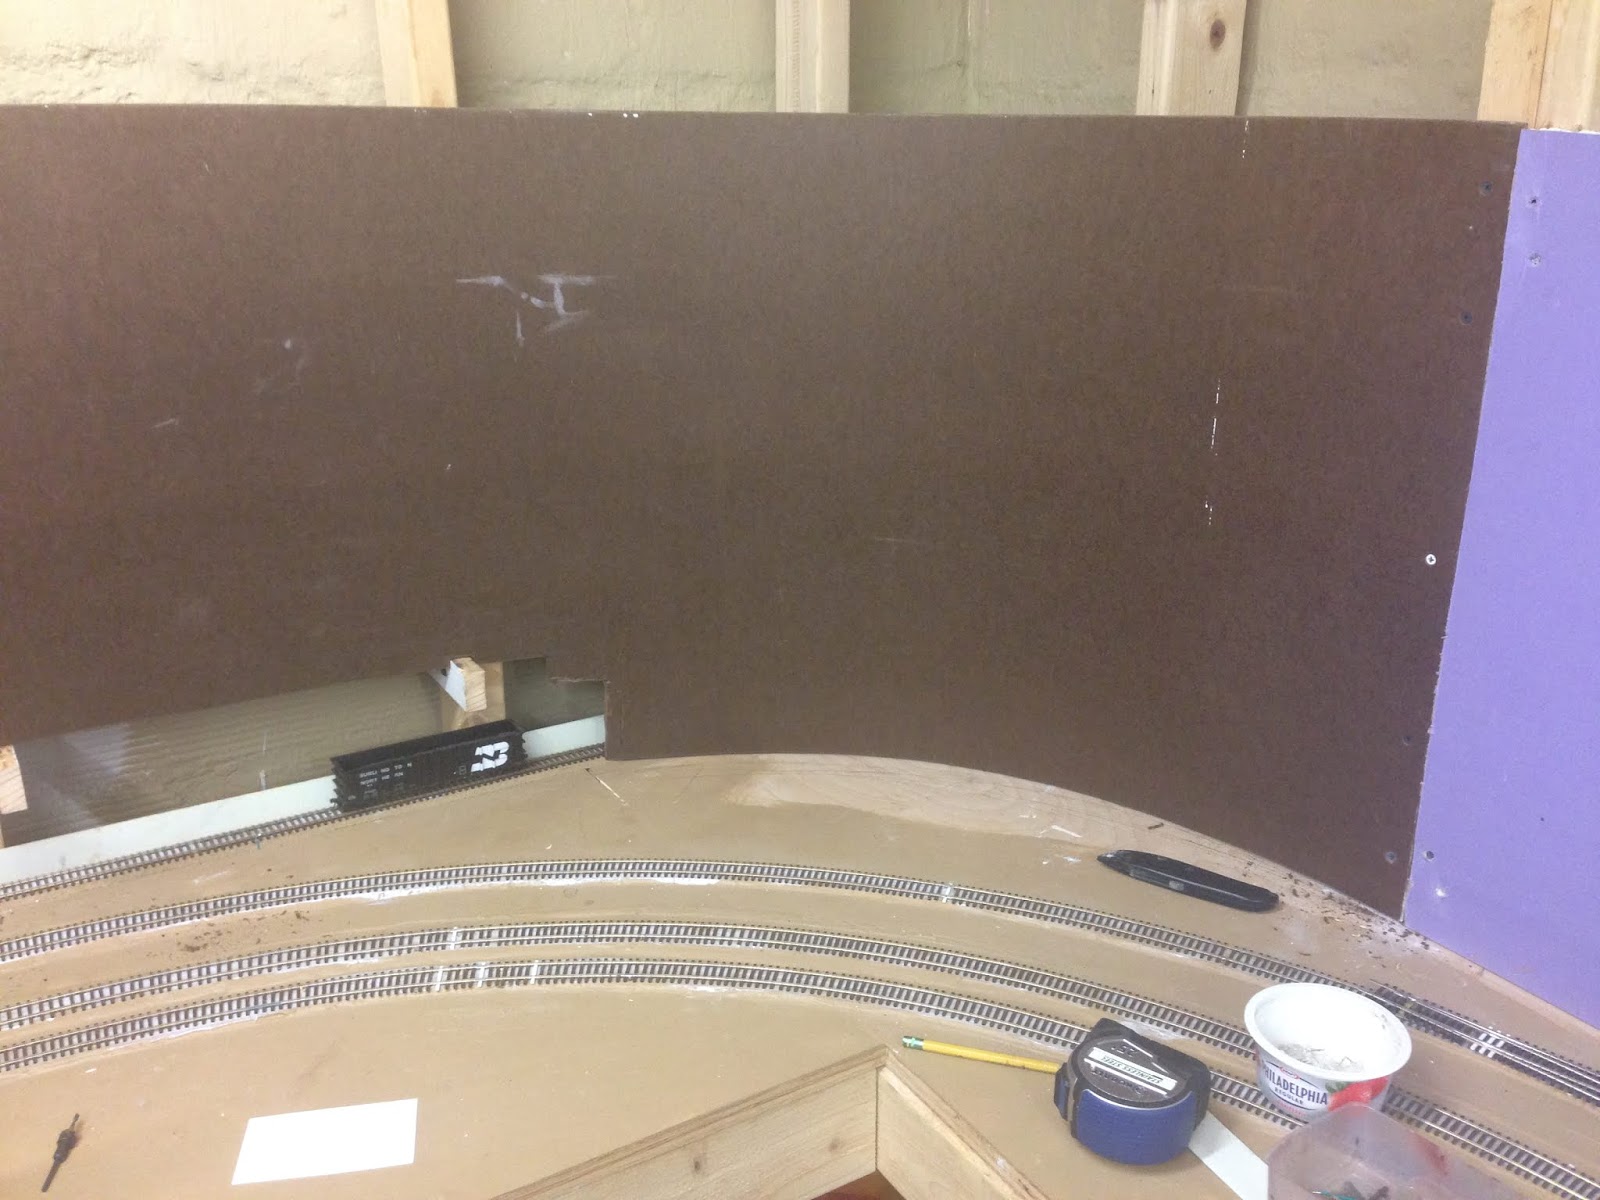
Dishman scene subroadbed was installed shortly after I set this goal late last winter. This included some thinner profile plywood for the Sprague Avenue overpass so when I build the bridge I don't need to remove too much subroadbed. The roadbed installed was the wood luan plywood that was described in last year's post. I then made a mixture of drywall mud from the powder, and spread a thin mixture to give a ground base. I also created some roadbed templates so I could "drag" the drywall mud to create a sloped ballast shoulder with proper drainage, as outlined in an issue of RMJ in the 1990s (Dan Holbrook and Jeff Lemke article). Finally, the roadbed and scenic base was painted with a brownish base color that Matt Sugerman recommended since it is close to the dirt color found in Eastern Washington (where we both model - see photos). Additionally, because my friends John Bauer and Tom Casper visited fom Chicago for 4 days, we were able to get all of the track down in the scene! John was able to lay all of the track for the Dishman scene. While he did that, I rebuilt seven commercial ME and Shinohara switches to Dan Holbrook's standards. I will do a post on this rebuild process with photos at some point to describe exactly what this entails, but it includes isolating the frogs (which are all powered up with polarity reversal) and rebuilding the header blocks, and adding some other detail as well. Dan's method is fairly easy and makes them look really good - and they include most of the detail a turnout should have to be convincing.
2016 Goal #3: Install DCC. Check. The NCE DCC system was installed successfully. While John and I worked on the track, Chicago friend Tom Casper performed a multitude of electronic-related tasks including installation and configuration of the DCC system. He built a panel with kill switches for the three layout power districts. He installed and configured the circuit breakers. He also installed installing and performed troubleshooting for the reversing unit for the wye at Dishman. We had alot of trouble getting that to work - we discovered it needed to be wired independently of an "uphill" circuit breaker. As a capstone to the Dishman scene work, Tom also helped alot with feeder wiring both in the visible scene as well as the helix, and also helped with installation of Blue Point turnout controllers that include built-in polarity reversing switches.
2016 Goal #4: Finish switch engines. Started. I asked for help from Paul Federiconi and Chris Thompson for the three
ProtoWalthers MILW SW1200s needed for the yard, industry switching, and
CDA local. Numbers 627, 630, and 645. They now have lights, sound decoders, and detailing. I need to weather them and will do so in 2017, hopefully.
So all in all, the layout is coming along. Here is a video that kind of shows it all, with a Plummer Turn returning to Spokane running through the middle of it. Please note: these U28Bs have crappy sounding Tsunami decoders (too much electronic sound, and sound that starts after the locomotive is already moving - boo!). They will be swapped out for Loksound "Full Throttle" down the road.
And here are some images of the Dishman scene. First, let's start with the wye scene. In the foreground and at right is the Milwaukee line headed toward the helix (and going down), headed toward Couer D'Alene and Metaline Falls. At left is the far leg of the wye. This was likely used to turn trailer flats and autoracks as necessary and is an essential part of the layout operation. In the upper left corner that leg of the wye (heading South in real life) ducks into the helix, with the switch unfortunately in the helix, but accessible. Finally, the UP mainline is in the back of the scene, with the depot located prototypically correct behind the boxcar - or will be someday when I build it. The boxcar is sitting on the house track behind the depot. My only photos of that house track show 2 IC Centralia built 50 foot boxcars on that track.
 |
| Click to enlarge |
This next photo below points the camera 90 degrees from the previous photo and looks down the aisle toward the furnace. This is more of the Dishman scene, and starts with the wye access tracks in the foreground. The runaround track and Dishman house track layout was tricky due to space constraints so John and I decided that those two chained turnouts had to be handlaid in place. Then, the mainline (at left) and runaround track (at right) cross over the future Sprague Avenue bridge, which has been constructed with the bridge in mind. I have a temporary piece of cardboard down to show the 4 lane highway, and my son has loaded a grain truck which is crossing underneath the UP (MILW trackage rights), Eastbound (loaded should probably be going the other way toward the elevators in Spokane, but he doesn't know that). Behind the highway is the Porta-Pool and Morrison Brothers Seed industry track to the left, with a boxcar spotted on that track. That track declines in elevation like the prototype. To the right is the weird back and forth arrangement to get to Appleway Fuel, the only BN-served industry on the layout. The reason that track arrangement is like that is because the former SC&P interurban right of way was abandoned with GN building an access to the UP back in the 1960s. I didn't freelance this; this is accurately modeled here.
 |
| Click to enlarge |
Here is a track level railfan photo of the Morrison Brothers Seed warehouse track taken from the UP right of way above Park Road (on the overpass).
 |
| Click to enlarge |
Finally, here is a view of the returning Plummer Turn on UP trackage rights, passing by the (future) site of the UP depot.
 |
| Click to enlarge |
What's next for 2017? Here are the things I am working toward in
2017. The big picture plan is to get the yard started. The larger scope goal is to lay all of the track on the lower
level as soon as possible so that there are industries to switch and a yard
to operate as soon as possible. That should get the juices flowing to
hold operating sessions. I am not sure I can finish that this year, but
here's what is next:
- Lay the roadbed and track behind the furnace and by the freight house. This track is partially hidden and partially visible. I need to cut an access hole behind the furnace as well so that I can clean the track back there. I plan to use the I-90 overpass to hide the entrances to and from the hidden staging area. Here is where the hidden trackage is on the layout - lower left corner of this image:

- Install roadbed in Fancher Yard (MILW Spokane Yard). This includes the 2 UP "visible staging" tracks behind the MILW yard. I need to think about whether the yard will be laid at a different height than the surrounding trackage.
- Start laying track in Fancher Yard. The yard lead may need to be handlaid to get the proper "curve" in it like the prototype has (you can see it on Google Earth today, since this yard is used by UP today). That yard lead will need to be laid first, so this needs to be decided rather quickly to keep moving.
- Install Dishman backdrop and fascia. Both of these need some carpentry done to provide support. I bought extra sheets of masonite a few years ago that I will probably use for both of these, although I installed backdrop in the yard already and that was drywall.
- Finish switch engines. As stated above, I need to weather the three switch engines so I have finished power. Here's a
Dan Holbrook shot of all three of them 6 months after my modeling
period.

- Continue with freight cars. I need to focus on freight cars
that are needed for Spokane proper, and that is just about everything.
My goal this year is to modify and paint and decal 5 Kadee PS1 50' double door boxcars, and possibly the IC Centralia-built 50 foot boxcars I mentioned earlier. And finish some others that are started...
Thank you for reading. Writing this up provides me with a way to set realistic goals and monitor my progress. Have you set goals for your modeling year?